Acrylic organizers are a sure hit among the current aesthetic trends. If you’ve been anywhere on social media lately, chances are you’ve already seen a pantry restocking video. A running feature among them are their seemingly endless supply of gorgeous acrylic organizers.
So now, you’ve seen the vision and you’re inspired to do the same. Only thing is, acrylic organizers bought from malls and known brands aren’t particularly cheap and buying many of those can quickly become expensive. So, how can you achieve your dream aesthetic pantry/desk space without breaking the bank? You DIY it, of course!
Prepare the following:
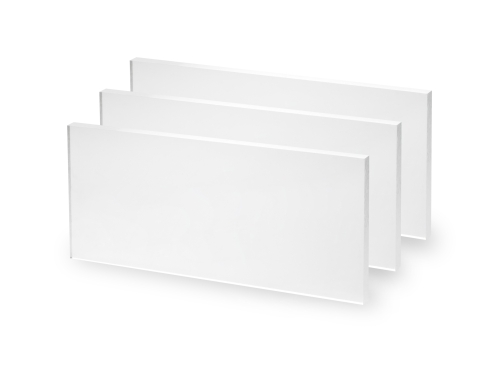
- Acrylic panels
- Industrial grade UV clear adhesive
- UV Light
- Masking Tape
If cutting acrylic on your own:
- Scoring Knife or Jigsaw tool
- Clamp
- Sandpaper
There are precautions and safety guidelines to follow before continuing with your project. Make sure to read them from our previous DIY post first before proceeding.
1. Know your desired size and type
Are you making a pencil holder? A kitchen drawer organizer? Maybe a desk divider? Research and measure beforehand the dimensions of your chosen design to determine how many separate pieces it would need. If you’re making drawer dividers, make sure that the fit is just right to lessen noise when you’re opening and closing the drawer.
2. Cut your acrylic sheet
Each organizer is sized and designed using an online tool. Upon purchase, ask the acrylic sheet supplier to cut the acrylic sheet for you using a laser cutting machine. This will ensure clean and smooth edges.
If cutting the acrylic sheet on your own, use a clamp to hold the acrylic down a flat wooden surface. Score your acrylic using a scoring knife and then firmly snap off the excess with equal force across. If your organizer has more rounded edges, it’s better to use a jigsaw tool to achieve best results.
Smooth down the edges using sandpaper.
3. Prepare your acrylic sheets for gluing
Remove the protective films of the organizer completely and wipe it down clean.
4. Assemble and tape the pieces together
Arrange the pieces according to how it should look like assembled. Secure each connecting side with masking tape.
5. Glue the sides
Using an industrial grade UV clear adhesive placed in a syringe, start gluing the sides together. Using this type of glue will ensure the neatness of the finished product. While gluing, find a 90 degree surface your acrylic sheets could rest on so that the glued parts may remain straight and upright.
6. Let the glue cure and completely dry
Cure the UV clear adhesive using UV light and leave the organizer to rest for at least two days. Make sure that the glue is all dry and the sides are stuck together well before placing any objects inside it.
7. Enjoy your newly DIYed project!
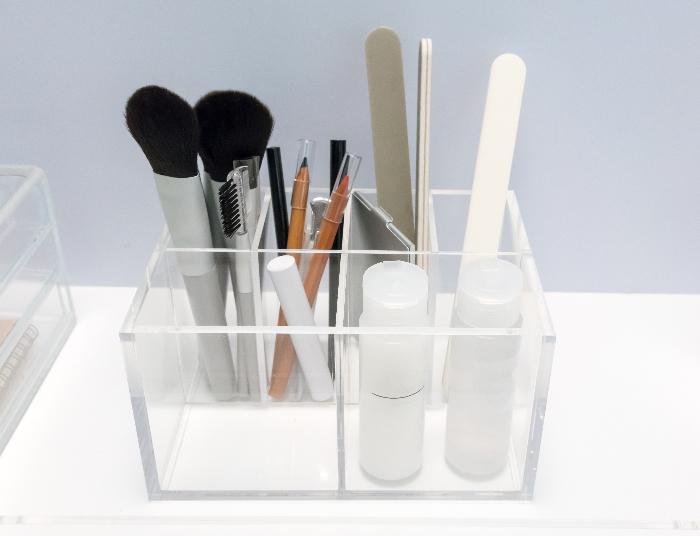
Decorate your space with your brand new acrylic organizer. You can further personalize it by adding paint, or labels depending on your preference.
From makeup organizers to magazine holders, there are tons of creative ideas you can now make for yourself. Acrylic sheets are durable, impact-resistant, and long-lasting. You can check out our video here to see how we made our own acrylic organizer.
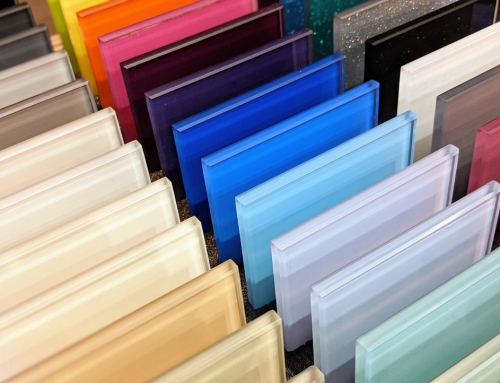
Wondering where to buy your acrylic in Manila? Acrylic sheets are readily for sale across the Philippines so, if you’re looking to start on making your own organizer, contact Acrybest. Your trusted acrylic sheet supplier in the Philippines.